
Fried food recipes don’t fail at home because you “can’t fry”, they usually fail because of three boring details people skip: oil temperature, moisture control, and overcrowding. Fix those, and your chicken, fries, and onion rings start tasting like the real deal.
If you’ve ever pulled food from the pot that looked golden but turned soft two minutes later, you’re not alone. Home fry setups lose heat fast, and most batters need a little structure to stay crisp, especially if you’re serving a crowd.
This guide focuses on practical, repeatable methods, plus a few dependable recipes you can rotate through. You’ll also get a quick “what am I doing wrong” checklist, a timing table, and safety notes that are worth taking seriously.
What makes fried food crispy (and why it turns soggy)
Crispiness is basically a race between steam escaping and oil soaking in. When the surface sets fast, steam pushes outward, the crust dries, and you get crunch. When the oil cools down or the coating stays wet too long, oil moves in and the crust softens.
- Oil temperature drops: adding too much food at once pulls heat from the oil, and the coating absorbs oil instead of “setting.”
- Surface moisture: wet chicken, watery potatoes, or un-dried seafood steams too aggressively and loosens breading.
- Wrong draining method: paper towels trap steam under hot food; a wire rack keeps air moving.
- Rest time matters: some coatings crisp up after 2–5 minutes on a rack, but go limp if stacked in a bowl.
According to the USDA, food safety temperatures matter as much as texture, especially with poultry; crisp is great, but don’t guess on doneness if you can avoid it.
A quick self-check: why your last batch didn’t work
If your results are inconsistent, it’s usually one of these, not your recipe.
- Your oil wasn’t hot enough: for many fried food recipes, 350°F to 375°F is the workable range, depending on thickness.
- You skipped a rack: draining on a rack is one of those “annoying” steps that pays off immediately.
- You breaded and fried too fast: breading needs a short rest so it can hydrate and grip.
- You seasoned too early: salt draws water; for some items, seasoning right after frying keeps crust crisper.
- You used extra-virgin olive oil: it can smoke sooner than neutral oils, and smoke changes flavor fast.
Tools and pantry basics that make a bigger difference than fancy gear
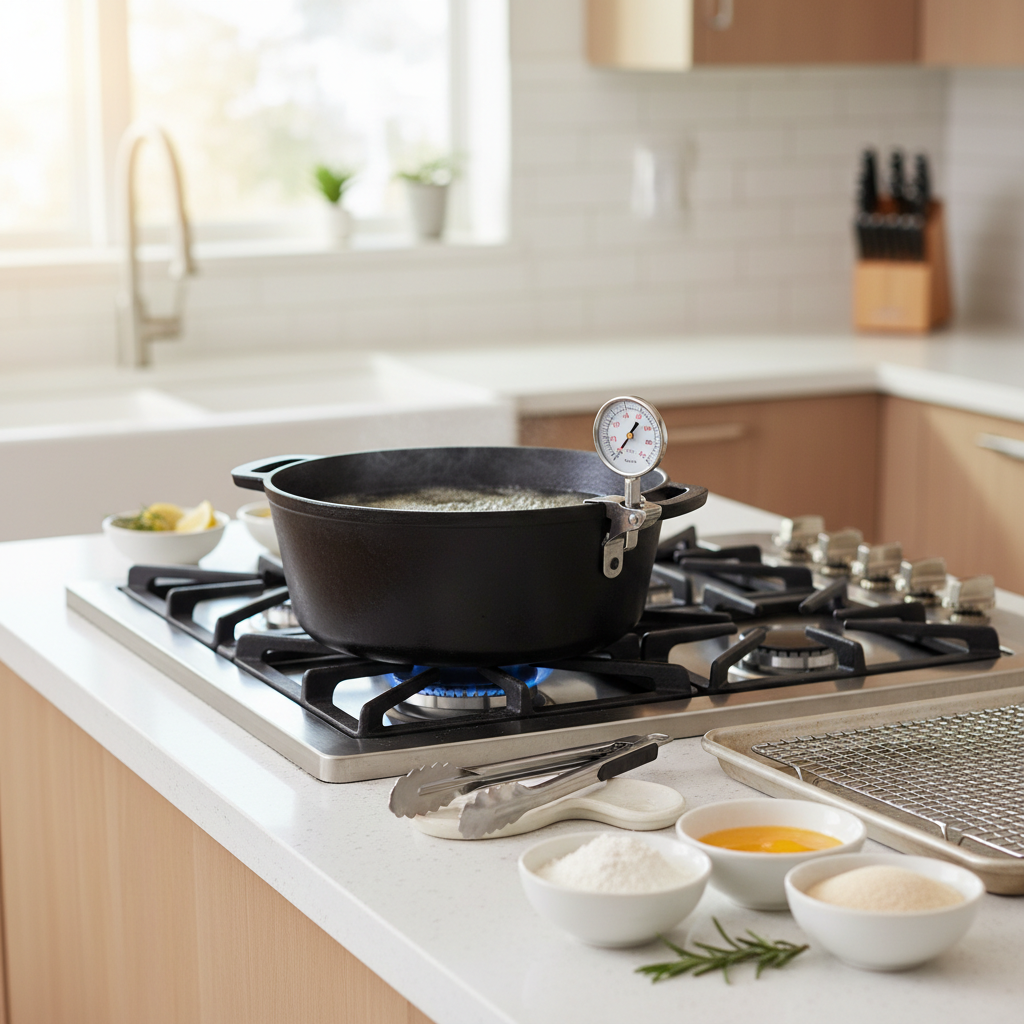
You don’t need a countertop fryer, but you do need control.
- Thermometer (clip-on or instant-read): this is your “training wheels” for consistent crunch.
- Heavy pot or Dutch oven: holds heat better than a thin pan.
- Wire rack + sheet pan: drains without steaming.
- Spider strainer or tongs: safer, less splashing.
For ingredients, keep cornstarch and baking powder around. In many batters, a little cornstarch lightens the crust, and baking powder can create tiny bubbles that fry up crisp.
Temperature and timing table (use this to stop guessing)
This isn’t the only way to fry, but it’s a reliable starting point for home kitchens. Adjust for thickness, and if you’re cooking poultry, consider checking internal temp with an instant-read thermometer.
| Item | Oil Temp | Typical Time | Best Crunch Tip |
|---|---|---|---|
| Fried chicken tenders | 350°F | 4–7 min | Rest breading 10 min before frying |
| Thin fries | 325°F then 375°F | 3–5 min + 2–3 min | Double fry for a dry, crisp shell |
| Onion rings | 365°F | 2–4 min | Dredge in cornstarch before batter |
| Shrimp | 360°F | 2–3 min | Dry shrimp well, fry small batches |
| Mozzarella sticks (frozen) | 350°F | 1–2 min | Keep frozen until the oil is ready |
3 dependable fried food recipes you can actually repeat
These are written for home realities: smaller batches, temperature swings, and a normal stovetop.
1) Extra-crispy buttermilk fried chicken tenders
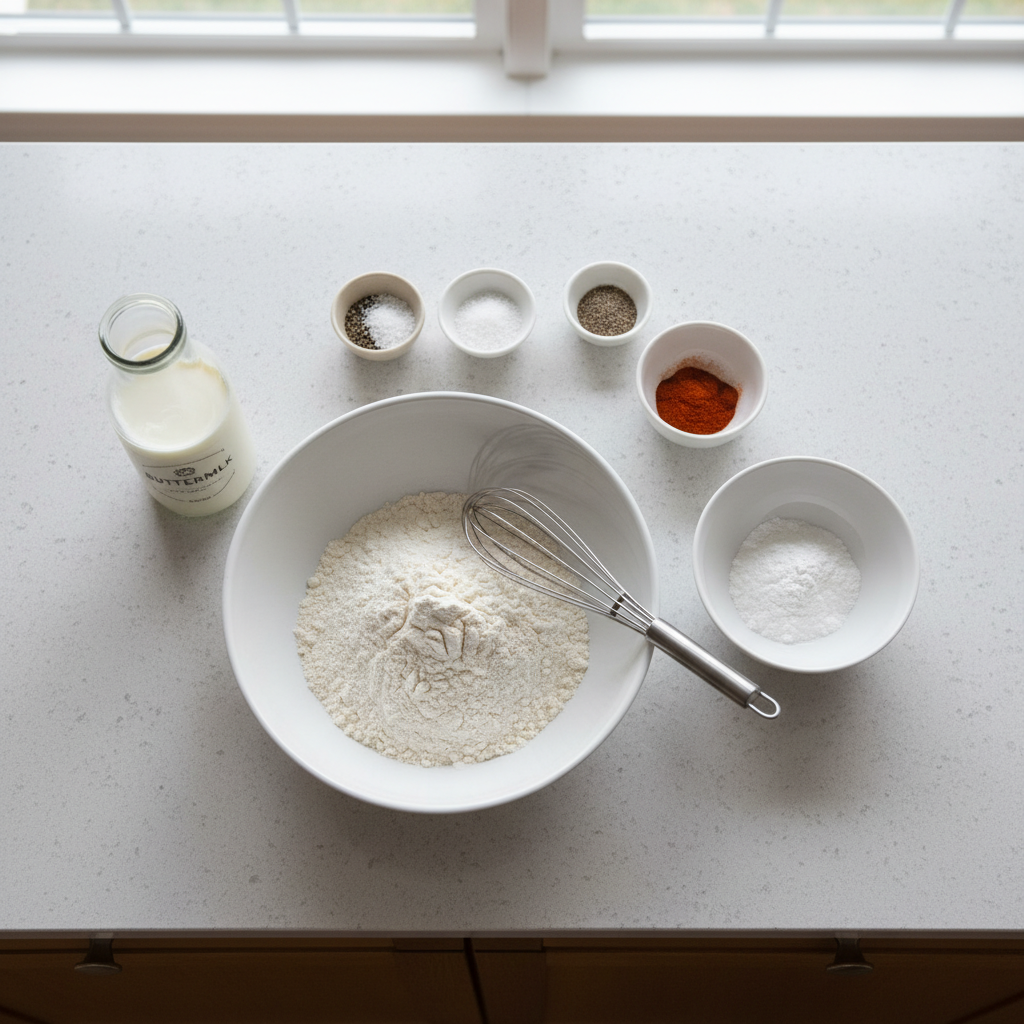
Key idea: a seasoned flour mix with a touch of cornstarch, plus a short rest so the coating bonds.
- Marinade: 1 cup buttermilk, 1 tsp salt, 1/2 tsp garlic powder, hot sauce to taste, 1–1.5 lb chicken tenders
- Breading: 1 cup flour, 1/3 cup cornstarch, 1 tsp baking powder, 1 tsp paprika, pepper
- Marinate 30 minutes to overnight in the fridge.
- Pat off excess marinade, dredge in breading, press firmly.
- Rest on a rack 10 minutes so the coating sets.
- Fry at 350°F until deep golden; drain on a rack, then salt lightly.
If you’re unsure about doneness, check temperature at the thickest point. According to the USDA, poultry needs to reach a safe internal temperature; when in doubt, verify rather than “cook by color.”
2) Double-fry diner-style French fries
Key idea: the first fry cooks and dries, the second fry crisps. Many classic fried food recipes rely on this two-step texture trick.
- Cut russet potatoes into sticks, rinse until water runs less cloudy.
- Dry aggressively with towels, or air-dry 20–30 minutes.
- First fry at 325°F until pale and tender, then drain and cool.
- Second fry at 375°F until golden and crisp, then season right away.
If you want the “shatter” crunch, cooling between fries matters more than most people expect.
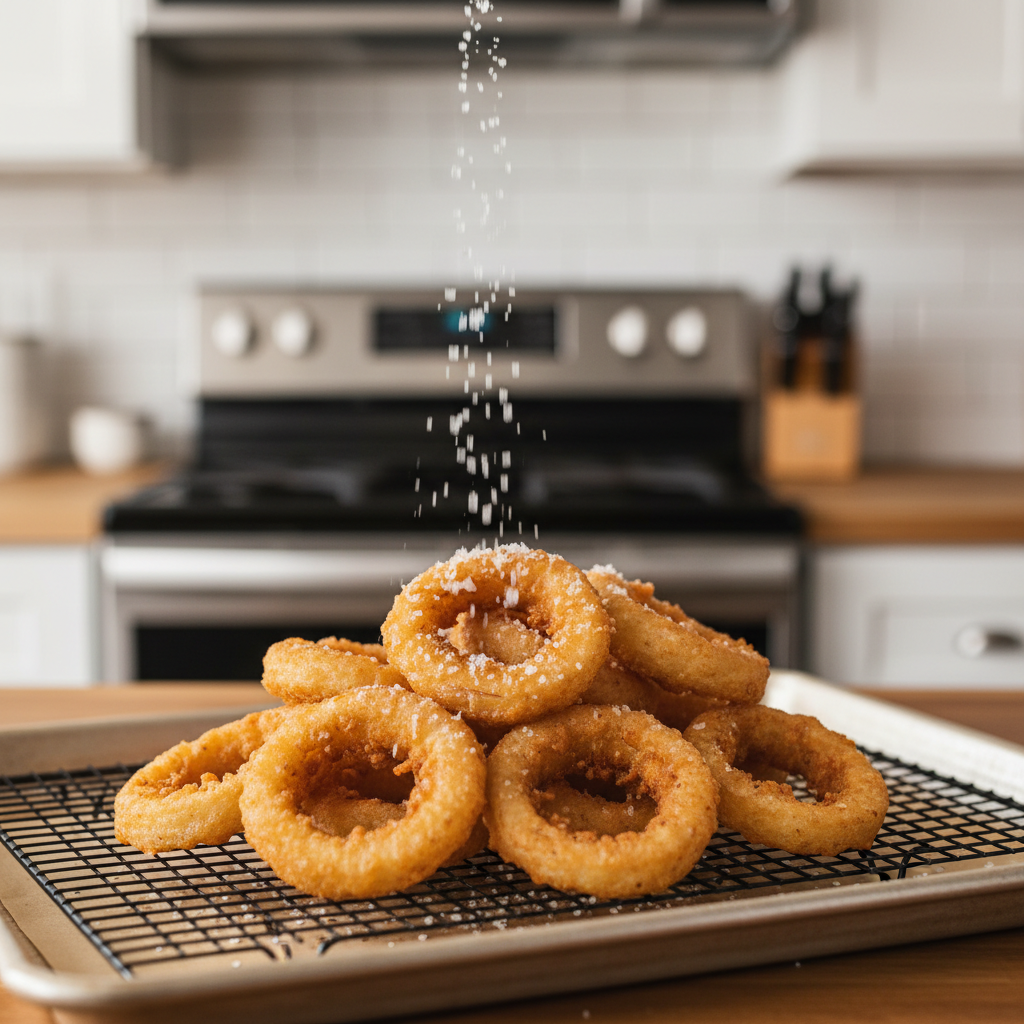
3) Crunchy beer-battered onion rings
Key idea: start with a dry dusting so batter clings, then fry hot and fast.
- Slice onions into rings, separate, pat dry.
- Dust lightly with cornstarch (thin coat).
- Whisk batter: 3/4 cup flour, 1/4 cup cornstarch, 1 tsp baking powder, salt, then 3/4 cup cold beer (or seltzer).
- Fry at 365°F in small batches; drain on a rack, season.
Practical workflow: how to fry without stress (or a trashed kitchen)
This is the routine that keeps most home cooks out of trouble.
- Set up a “dry line” and a “wet line”: keep breading station away from the stove so you’re not juggling flour over hot oil.
- Preheat oil slowly: rushing heat creates hot spots, which burn coating before the inside cooks.
- Fry smaller batches: you want active bubbling, not a furious boil that cools the pot.
- Drain on a rack, not paper towels, and don’t stack.
- Hold in a warm oven (low heat) if you must, ideally on a rack so crust stays dry.
Key takeaway: if you change only one habit, buy or use a thermometer more often. Guessing oil temp is where “fine” turns into “greasy.”
Safety notes and common mistakes (worth reading once)
Hot oil is not forgiving. If anything here feels outside your comfort level, it’s reasonable to start with shallow-frying and smaller amounts of oil.
- Don’t add wet food to hot oil: water causes aggressive splatter; dry surfaces reduce risk and improve crust.
- Leave headroom: fill pots halfway or less to reduce boil-over risk.
- Keep a lid nearby: if oil ignites, turn off heat and cover. Do not use water on a grease fire.
- Watch smoke: if oil smokes, it’s too hot and flavor can turn harsh.
According to the National Fire Protection Association (NFPA), cooking is a leading cause of home fires; staying present and controlling heat is a real safety step, not just a cooking tip.
Conclusion: crisp at home is mostly technique, not secrets
Once your oil stays in a steady range, your food dries before breading, and your fried items rest on a rack, your “hit rate” jumps quickly. Pick one recipe above, make it twice, and tweak only one variable at a time, usually temperature or batch size.
If you want an easy next step, choose the fries or onion rings first, they teach heat control fast, then move on to chicken when your timing feels natural.
FAQ
What oil is best for fried food recipes at home?
Neutral oils with higher smoke points are common choices, like peanut, canola, or vegetable oil. The “best” option depends on allergies, flavor preference, and what you’re frying.
Why is my fried food greasy even when it looks crispy?
Greasiness often points to oil that ran too cool during frying, so the crust didn’t set quickly. Another common cause is crowding the pot, which drops temperature fast.
Should I season flour or season after frying?
Usually both works: season the breading for baseline flavor, then add a light finishing salt right after draining. For very delicate crusts, heavy salting too early can pull moisture and soften texture.
How do I keep fried food crispy for a party?
Drain on racks, then hold in a low oven on a rack-lined sheet pan. Avoid covering tightly with foil, because trapped steam can undo the crunch.
Can I reuse frying oil?
Often yes, if you strain it after cooling and store it properly, but it depends on what you cooked and how hot the oil got. If it smells off, looks very dark, or smokes earlier than expected, it’s probably time to discard it.
Is an air fryer the same as frying in oil?
Not really. Air fryers can make foods crisp, but the texture and richness differ from deep-frying. If you’re after classic restaurant-style crunch, traditional oil frying is still the closer match.
How do I know chicken is cooked without cutting it open?
An instant-read thermometer is the most reliable method. Color alone can mislead, especially with darker breading, so checking temperature is a safer habit if you fry poultry often.
If you’re trying to build a small “go-to” rotation of fried food recipes, it can help to start with one batter and one breading style, then swap the main ingredient, shrimp today, onion rings next week, chicken on the weekend, you’ll learn faster without changing everything at once.